- Introduction
- Step-by-step guide
- Step 1: Remove the back cover
- Step 2: Remove adhesive residue
- Step 3: Disconnect the NFC module and covers
- Step 4: Disconnect battery, connector cables, antenna, and display
- Step 5: Remove the old battery
- Step 6: Remove adhesive residue
- Step 7: Install the new battery
- Step 8: Reconnect components
- Step 9: Reinstall the NFC module and covers
- Step 10: Perform a functionality test
- Step 11: Final assembly – Reattach the back cover with adhesive
- Check out our other repairs — here are the 3 latest posts:
Introduction
In this detailed guide, we’ll show you how to replace the battery and back cover of your Samsung Galaxy S20 yourself. This repair requires patience and caution, especially since the back cover is made of glass and can break easily. Follow the steps carefully to avoid damage.
🔧 Difficulty: Medium
⏳ Duration: Approximately 30–60 minutes
⚠️ Caution: The battery is glued in — be careful when removing it!
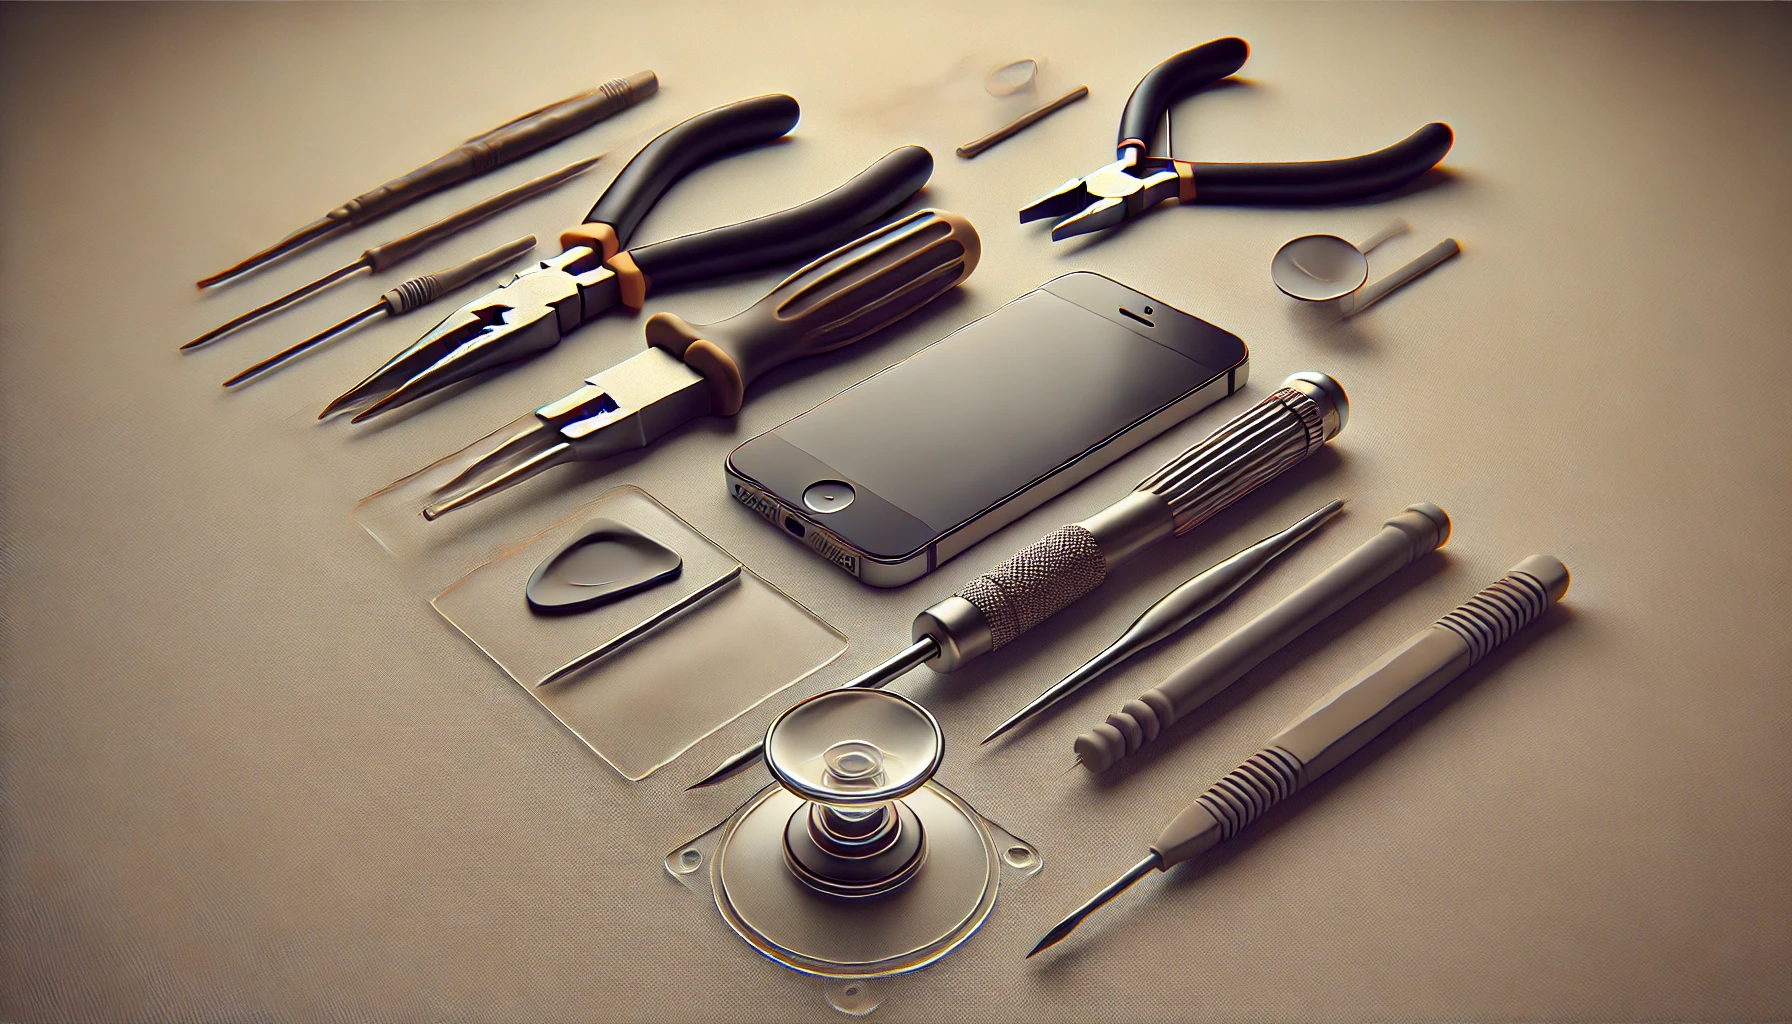
Tools required
Important Notes:
- Use a heat-resistant tool and work on a soft surface.
- Make sure your device is powered off.
- Wear gloves to avoid fingerprints and possible injuries.
- Use high-quality isopropanol (at least 90%) to dissolve adhesive residues.
The repair video is available on the Vanreise second channel:
Step-by-step guide

Step 1: Remove the back cover
- Heat the back cover to about 80 degrees Celsius to soften the adhesive.
- Use a suction cup to gently lift the back cover.
- Carefully insert a plastic opening pick into the gap and slowly work your way around the edges.
- Be careful not to bend the glass too much to avoid cracking it.
Step 2: Remove adhesive residue
- Carefully remove the old adhesive residue using a plastic spudger or isopropanol.
Step 3: Disconnect the NFC module and covers
- Remove all screws securing the NFC module and internal covers.
- Carefully lift the NFC module and set it aside.
Step 4: Disconnect battery, connector cables, antenna, and display
- Carefully disconnect the battery connector, connector cables, antenna, and display using a plastic tool.
Step 5: Remove the old battery
- Carefully heat the battery with a heat gun (don’t overheat!).
- Drip isopropanol around the edge of the battery to loosen the adhesive.
- Use a plastic opening pick or a plastic card to slowly pry up the battery.
Step 6: Remove adhesive residue
- Thoroughly clean the battery compartment of any adhesive residue to ensure a smooth surface for the new battery.
Step 7: Install the new battery
- Apply a new adhesive strip or glue in the designated area.
- Place the new battery in the correct position and press it gently into place.
Step 8: Reconnect components
- Reconnect the display, antenna, connector cable, and battery to the motherboard.
Step 9: Reinstall the NFC module and covers
- Place the NFC module and the previously removed covers back into their original positions.
- Screw in the screws gently to secure the components.
Step 10: Perform a functionality test
- Turn on the phone.
- Open the phone app and dial *#0*# to access the Samsung test menu.
- Check that all components are working properly (display, touch, sensors, camera, etc.).
Step 11: Final assembly – Reattach the back cover with adhesive
- Tighten all screws securely.
- Apply new adhesive to the frame or use double-sided tape.
- Carefully place the back cover onto the frame and press it down evenly.
- Let the device rest under gentle pressure for a few minutes to allow the adhesive to set.
Check out our other repairs — here are the 3 latest posts:
Guide: S20 Battery and Back Cover Replacement – Self Repair
Introduction In this detailed guide, we’ll show you how to replace the battery and back cover of your Samsung Galaxy S20 yourself. This repair requires patience and caution, especially since [...]
Connect GoPro Hero 9 Black with your smartphone
Connect GoPro Hero 9 with your smartphone: Video Introduction The GoPro Hero 9 Black is a powerful action camera, perfect for outdoor [...]
Self-repair – Smartphones, computers, laptops & more 🛠️💻📱
Self Repair – Repair smartphones, computers, laptops & more yourself In a world where technology ages faster and repairs often come with a high price tag, the topic of self-repair [...]

